If your check engine light (CEL) comes on with code P0161, it means your bank 2 sensor 2 (B2S2) O2 sensor is dead. The dealer will charge you upwards of $300 parts and labor to replace it, but really it's pretty easy to do it yourself in less than an hour for $70 or so. Here's how I replaced mine with a Bosch universal sensor:
Parts & Tools Needed
- Bosch Universal O2 Sensor - Part number 15733. Comes with Posi-Lock connectors and wire seals.
- Jack Stands - You'll need to jack the car up to get to the sensor. NEVER use scissor jacks to support the car while working under it!
- O2 Sensor Socket - You can rent it from most auto parts stores. A 22 mm box end wrench would work too since you'll be cutting the wire
- Anti-seize - The Bosch sensor comes with some on the threads but have some handy just in case
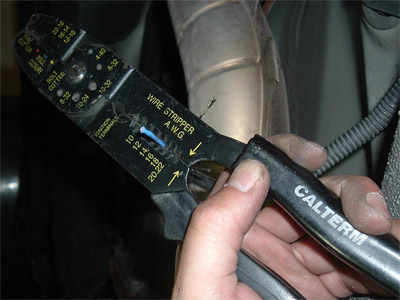
- Wire Cutter/Stripper
- WD-40 - Other penetrants like PB Blaster, Liquid Wrench etc work too
- Breaker Bar - Optional, didn't have to use one to get mine off
- OBD-II Code Reader/Scanner - Optional. Autozone or Kragen can pull the code for you if you ask nicely
Figure out what the check engine light means
First thing you want to do when your check engine light comes on is pull the OBD-II code (though if you're here, you probably already know you got a P0161). You can get a scanner/reader for pretty cheap (about $60) but if you don't think you'll have any use for the tool in the future, just go to Autozone or Kragen and they'll pull the code for you. I actually had another code (can't remember what it was though) along with P0161 but it also went away once I replaced the sensor.
Remove the faulty O2 sensor
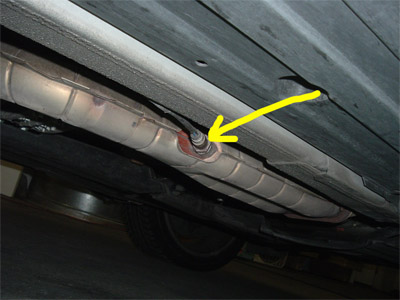
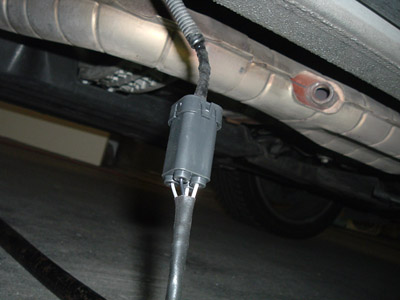
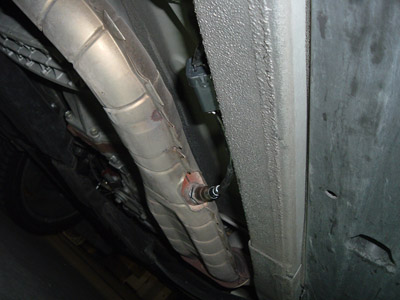
You can get to the IS 300 B2S2 O2 sensor pretty easily by jacking up the passenger side of the car. Remember to support it with jack stands. Here's a pic of where the sensor's located:
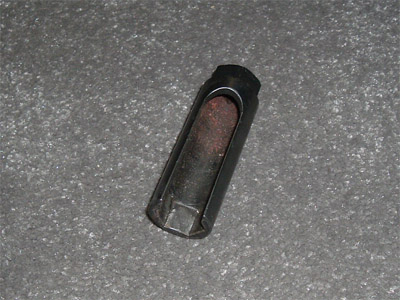
Spray it down with some WD-40 (or whatever penetrant you choose to use) and let it sit for a bit before you try to remove it. Once the penetrant's done it's job of loosening the rust and whatnot, use the O2 sensor socket to remove the sensor. Here's a pic of the socket:
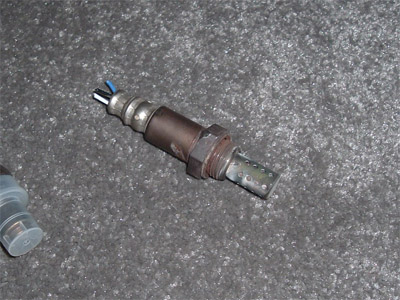
Next, cut the wires on the faulty sensor as close as possible to the sensor itself (note: you can cut the wires before removing the sensor and remove it using a 22 mm box end wrench if you don't have a O2 sensor socket handy). Leave the harness with cut wires dangling from the car for now. Pic of the old sensor, wires cut and removed from the car:
Install the Bosch Universal O2 Sensor
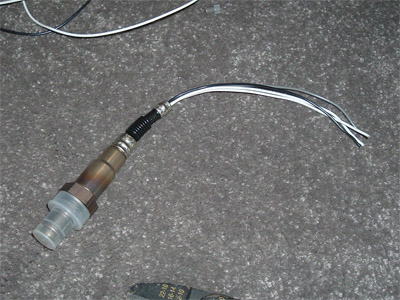
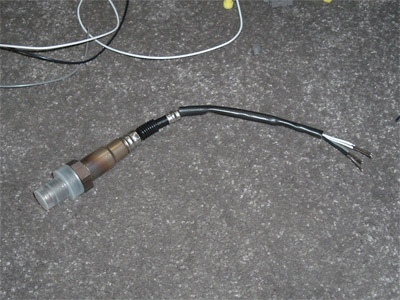
First thing you want to do is read the instructions that came with the Bosch sensor to get a general idea of what you're going to be doing. Here's a pic of the sensor:
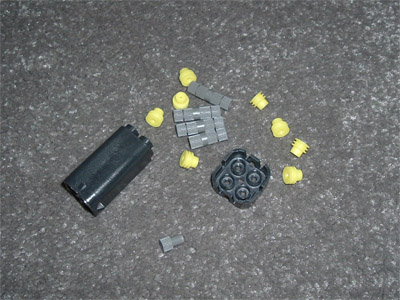
And a pic of the other stuff that comes with the kit:
The big black thing is the Connector Body, the little black this is the Connector Cap, the grey things are the Posi-Lock Connectors, and the yellow things are the Wire Seals (refer to the Bosch manual for details).
Next, cut the Bosch sensor wiring so that the wiring is about as long as the sensor itself and strip approximately 3/8" of insulation from the wires:
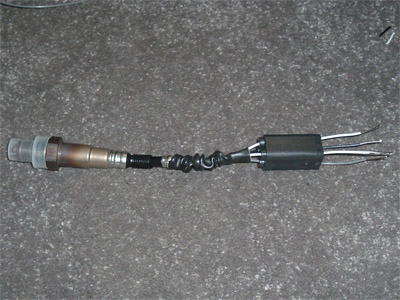
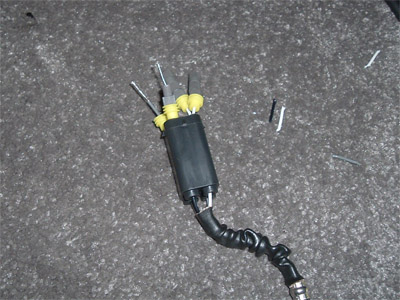
Stick the wires into the supplied Connector Body:
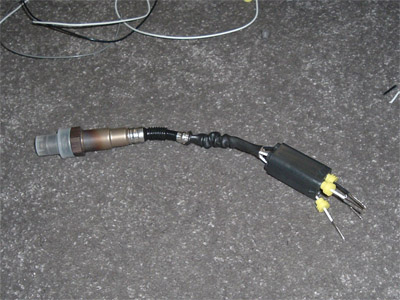
And place a Wire Seal over each wire:
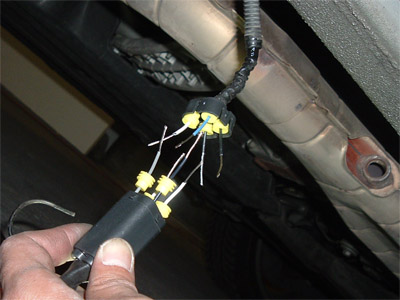
Next, strip about 3/8" of insulation off the wires from the OE harness that's dangling from under the car:
Run the wires coming out of the car through the supplied Connector Cap and place a Wire Seal over each wire. When you do this, hold the Bosch sensor and Connector Body next to it and make sure the wires will be aligned correctly once you assemble everything. Here's how the wires should be connected:
| IS 300 OE Wire | Bosch Wire |
|---|---|
| Blue | Black |
| White | Grey |
| Black | White |
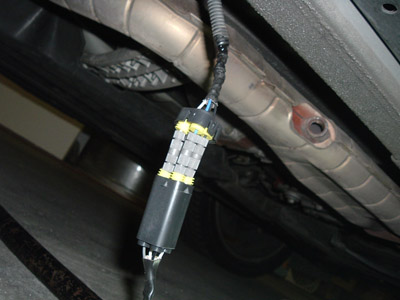
Install the supplied Posi-Lock connectors on the Bosch sensor side first:
Then connect them to the wires from the car:
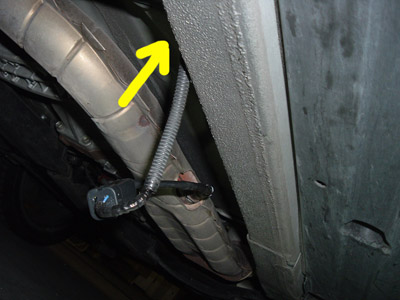
Now remove the plastic cover on the Bosch O2 sensor, apply a bit of anti-seize on the threads and install it. The wiring will be a bit long and will stick out from the bottom of the car. Just shove it back into the hole it came of (near yellow arrow in pic) and you're good to go.
Special thanks to the OP and everyone that contributed to this thread at my.is.
Perform this installation at your own risk! As easy as this is and as accurate as I've tried to make this guide, I'm not responsible if you screw up and mess up your car!

