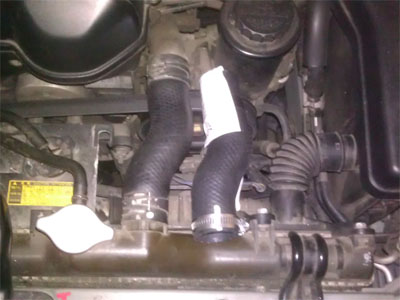
It was time to replace the coolant in the old IS and with 170K miles on the clock, I thought I might as well replace the radiator hoses while I'm at it.
Parts & Tools Needed
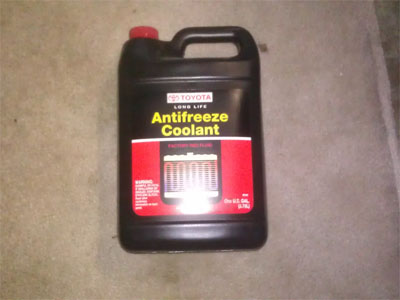
- Antifreeze Coolant - Supposedly the only coolant that's OK for our cars is the OEM Toyota red coolant (part number 00272-1LLAC). I bought 1 gallon of the concentrated stuff and had about a quart left when I was done.
- Distilled Water - 3 gallons total. 2 gallons for flushing the radiator and 1 gallon for mixing with coolant.
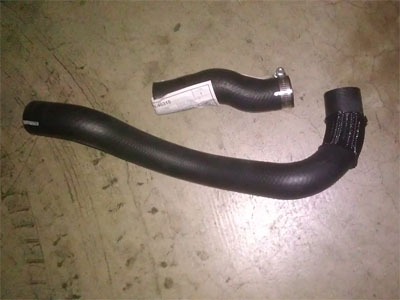
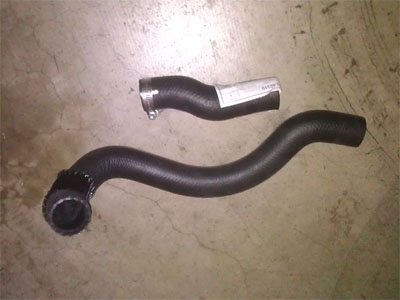
- The radiator hoses (duh :P) - The part numbers are: upper 16571-46310, lower 16572-46290. I paid about $70 for both hoses at the Lexus dealers. Definitely not cheap but I didn't want to mess around with trying to get some universal hose to work. The OEM hoses have all the bends and are marked at the ends so installation is super easy. Plus, my original hoses were actually still in pretty good shape so I think these will last me another 200K miles no problem (yes, I plan on driving this thing to the ground ;)
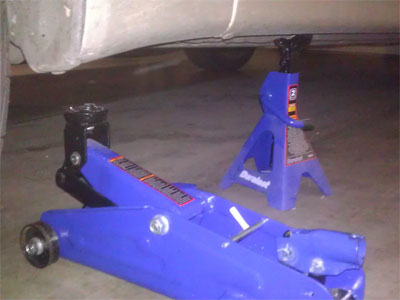
- Jack and jack stands
- 10 mm wrench - Used for removing the annoying plastic cover under the engine.
- (Optional) Hose clamps - You can probably reuse the old spring hose clamps but I replaced them with new ones.
- (Optional) Redline Water Wetter - Honestly this probably doesn't help all that much with a 50/50 coolant/water mixture but it certainly made a difference when I used it with just distilled water in my track car that was suffering from overheating issues after I installed a FMIC.
Procedure
-
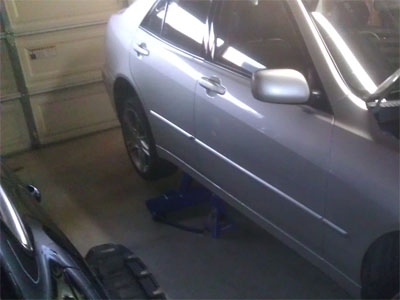
Jack the car up and support it with jack stands
And this is why you should always use jack stands:
I'm usually lazy and use a jack stand to support one side of the car and then just use the jack itself to support the other side. This piece of crap "Duralast" jack didn't last at all. I guess there's a leak or something so it slowly lost pressure and lowered itself. WTF?? Luckily I placed a jack stand next to the jack where it could catch the car in case the jack failed.
-
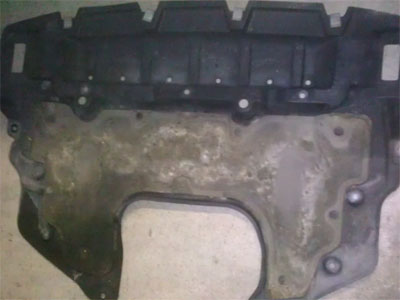
Remove the plastic cover under the engine
There's 10+ 10 mm screws and one plastic clip holding it in place. This thing is annoying as hell and I'm tempted to leave it off every time I'm down there working on something but I always end up putting it back.
-
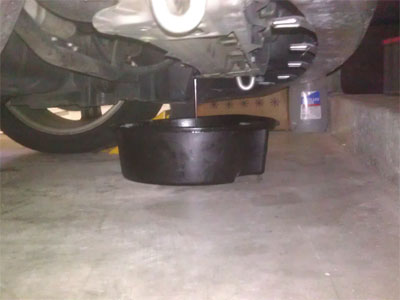
Drain the radiator
The radiator drain plug is this white plastic knob on the driver's side.
It takes forever to drain so I just removed the plug altogether. To help get it all out, I also jacked up the rear of the car.
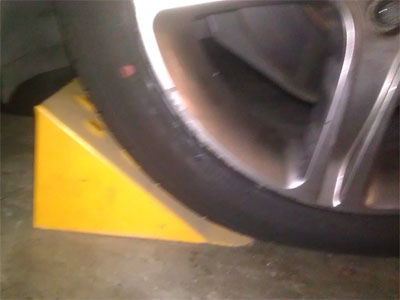
Since our cars are RWD and the e-brake only locks the rear wheels, I placed a wheel chock at the front wheel just to be safe.
-
Flush the radiator with distilled water
Close the radiator drain plug, lower the car, and fill the radiator with distilled water. I ran it for about 10 minutes (with the heater on full blast) then let it cool down and drained the radiator again.
-
Replace radiator hoses
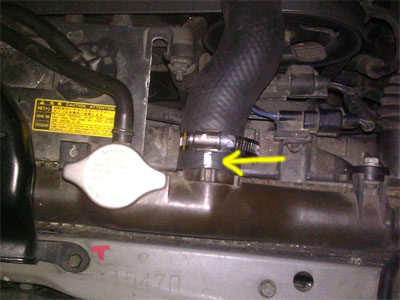
The upper hose is super easy. Just remove the hose clamps and twist and pull the hose and it comes right off.
Pic of the new hose next to the old hose:
The OEM hose has a white mark at the end. When installing, simply align it with the notch on the radiator:
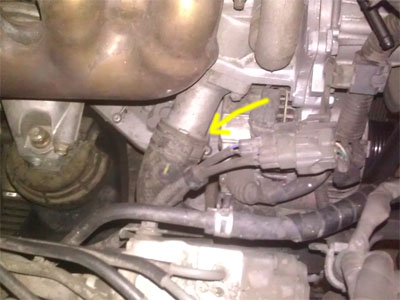
The lower radiator hose is pretty straight forward as well. It was easier for me to remove the engine side of the hose from the top of the engine compartment.
Similar to the upper radiator hose, the lower hose also has markings on it that you align to the notches.
-
Fill radiator with antifreeze coolant
Mix 50/50 antifreeze coolant/distilled water, fill the radiator and top off the reservior and you're all done!
Perform this procedure at your own risk! As easy as this is and as accurate as I've tried to make this guide, I'm not responsible if you screw up and mess up your car!

